Blog

  • Top 7 Things to Do When Starting a Garden (Beginner-Friendly Guide)

    Starting your first garden is exciting, but it can also feel overwhelming if you don’t know where to begin. The good news? A successful garden doesn’t happen by accident. With a bit of planning and the right setup, you can avoid common beginner mistakes and set yourself up for a thriving, productive space.

    Using expert guidance from seasoned gardening resources, here are the top seven things you should do when starting your garden.

    1. Pick the Sunniest Spot Possible

    Location is everything. Most vegetables and flowers thrive in full sun, meaning at least 6-8 hours of direct sunlight per day.

    Take time to observe your yard throughout the day. Watch where shadows fall and avoid areas blocked by trees, fences, or buildings. A bright, open space will dramatically improve your results.

    Pro Tip: Download a compass app on your phone and mark the cardinal directions (north, south, east, west) in your garden space. Then observe where the sun rises and sets – this will help you understand how light moves across your garden and where to place different plants.

    2. Make Sure You Have Easy Access to Water

    A garden that’s hard to water won’t stay healthy for long. Ideally, your garden should be close to a hose or water source.

    If watering feels like a chore, you’re less likely to stay consistent, so convenience matters more than most beginners realize.

    You can also build a simple rain barrel for very little cost and collect rainwater to use in your garden. It’s an eco-friendly option that can save money and provide plants with natural, chemical-free water.

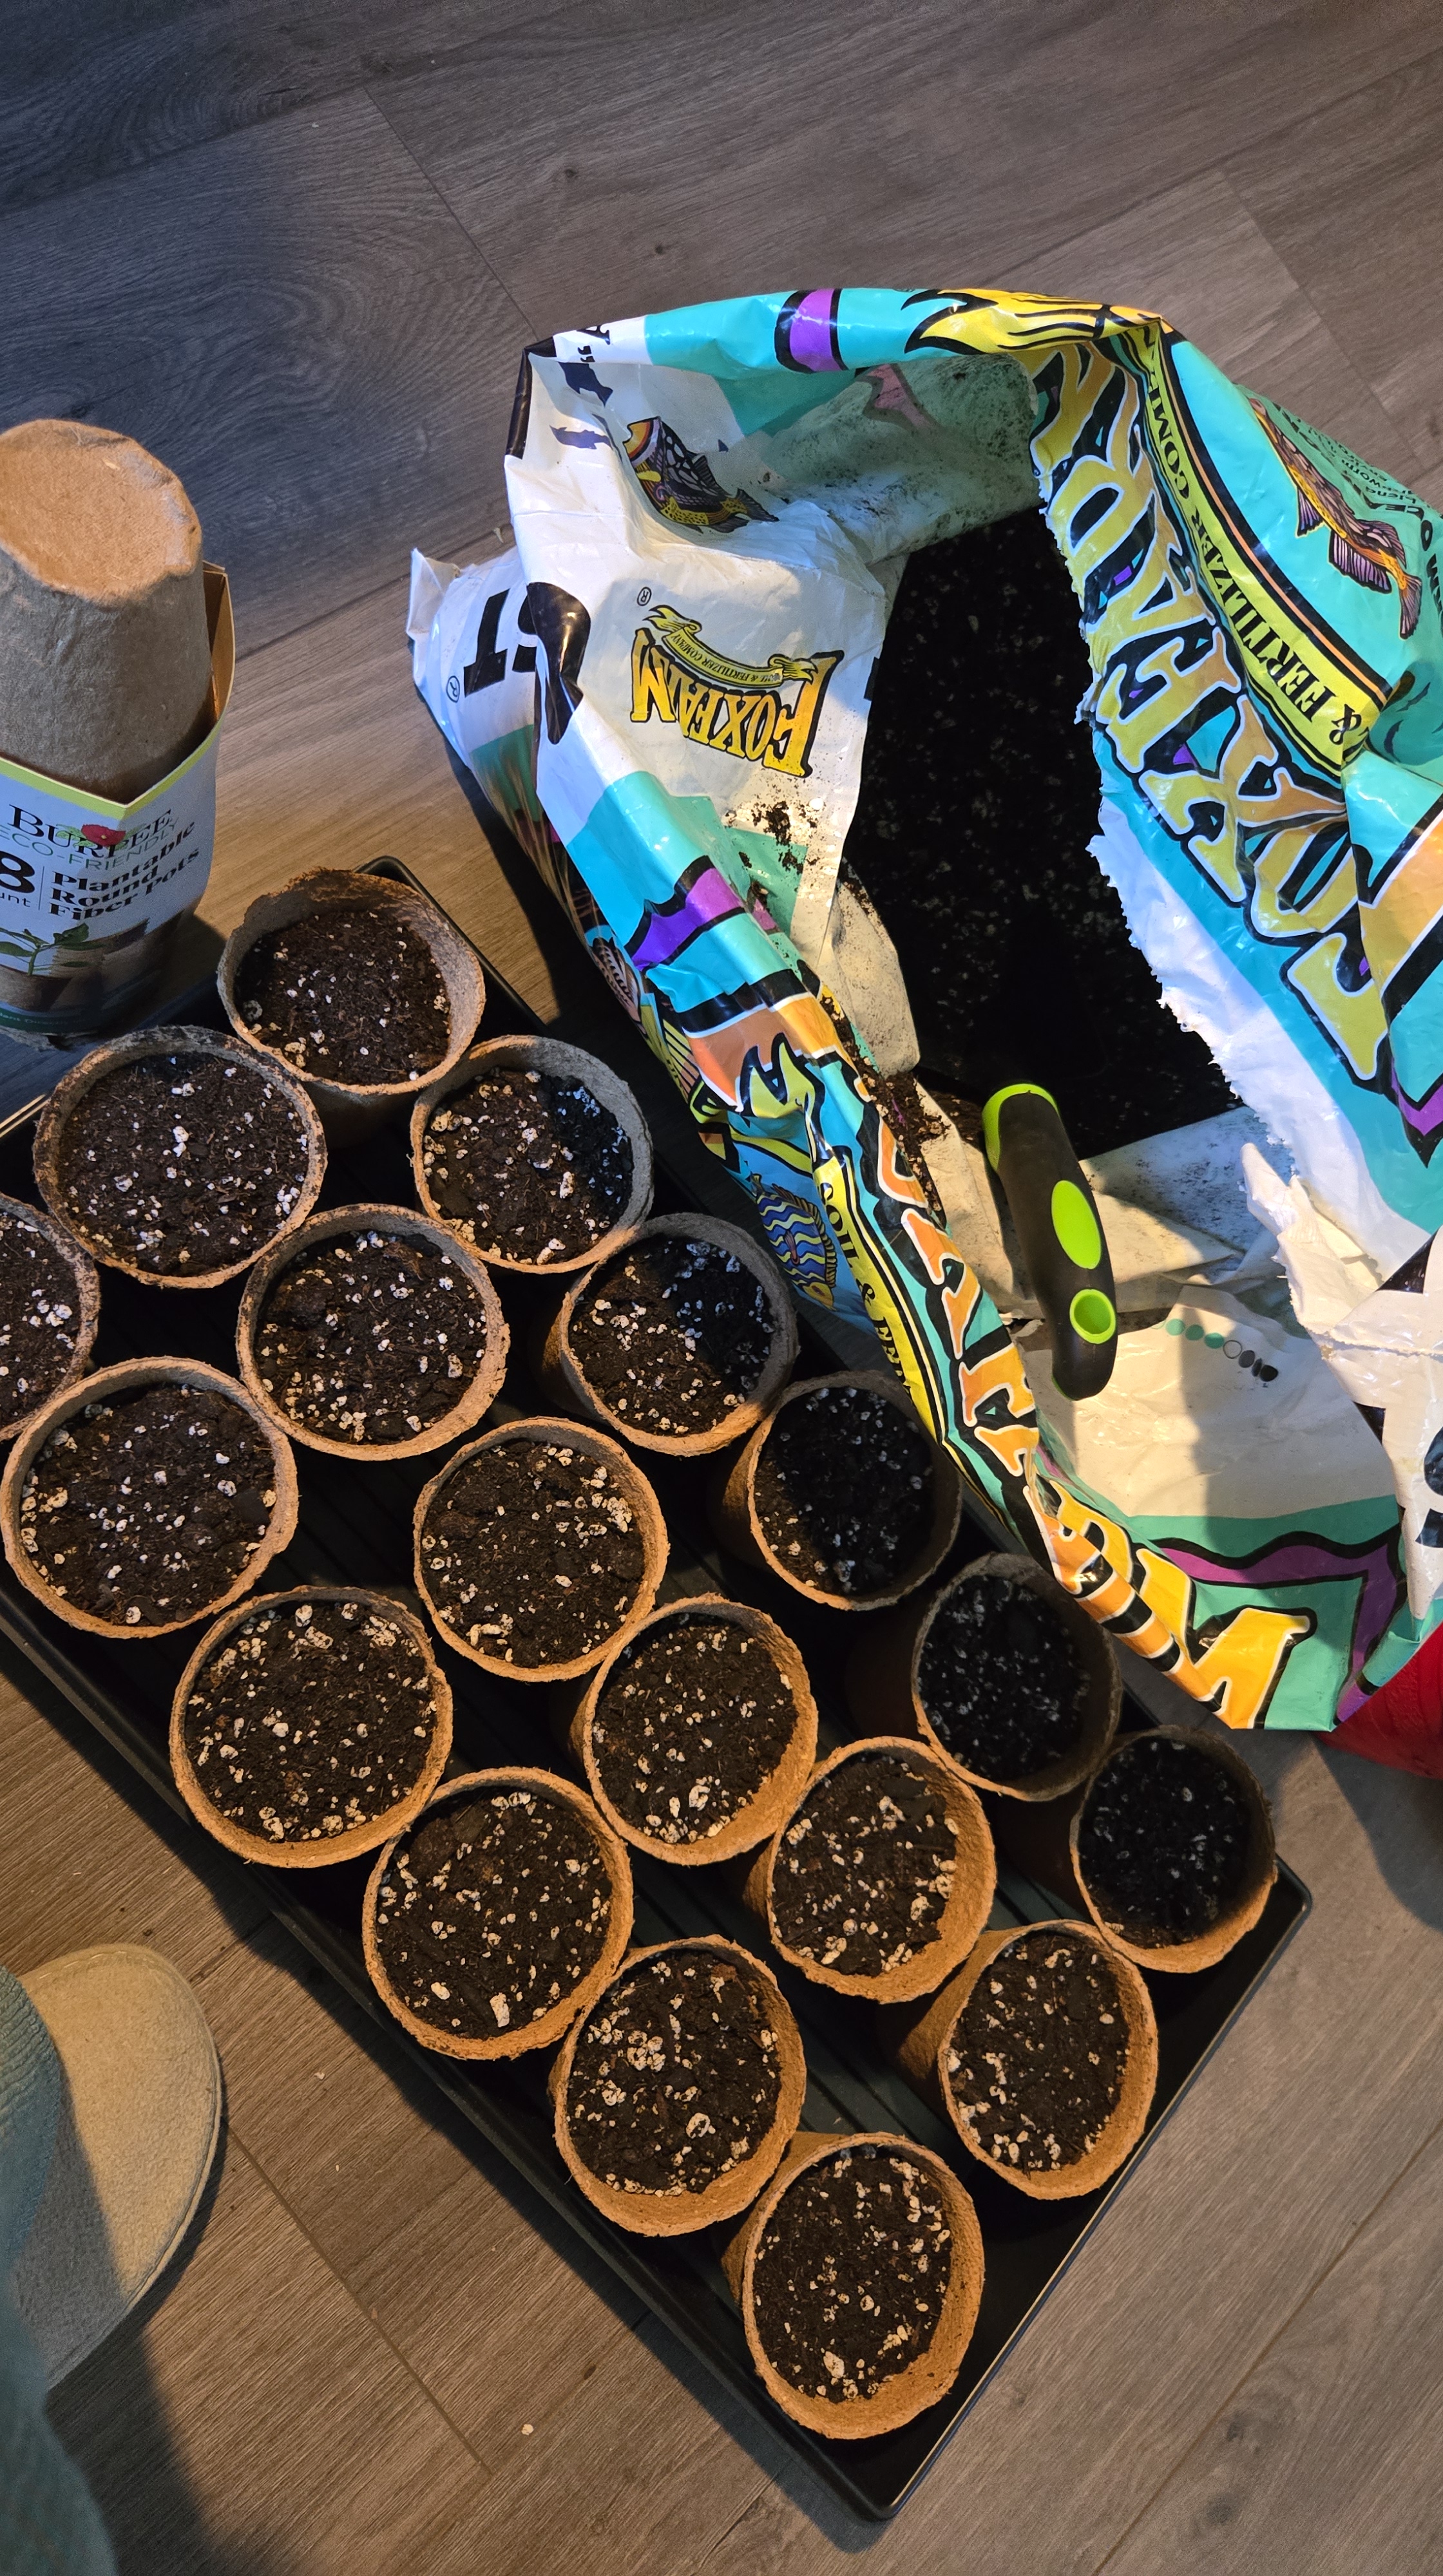
    3. Start Small (Seriously!)

    One of the biggest beginner mistakes is planting too much too soon. It’s better to begin with a manageable space – like a small raised bed or a 10×10 plot, and expand later.

    A smaller garden is easier to maintain, weed, and learn from, which builds confidence for future seasons.


    4. Choose the Right Type of Garden Bed

    Before planting, decide how you want to grow:

    – Raised beds (great for drainage and organization)
    – In-ground rows (traditional and budget-friendly)
    – Container gardening (perfect for small spaces)

    Raised beds are especially helpful if your soil drains poorly or is compacted, as they improve growing conditions right away.

    5. Plan Your Layout Carefully

    Don’t just plant randomly,  design your garden with intention.

    – Put taller plants where they won’t shade smaller ones
    – Place sprawling plants (like squash) at the edges
    – Keep frequently harvested crops near your home

    Thoughtful layout prevents overcrowding and ensures every plant gets enough light and space.

    6. Understand and Improve Your Soil

    Healthy soil = healthy plants. Before planting, check your soil’s texture and drainage.

    Add compost or organic matter to boost nutrients and improve structure. Avoid areas that stay soggy or collect cold air (low spots), as these can harm plant growth.

    Pro Tip: For a simple, effective soil mix, combine 1/3 topsoil, 1/3 compost, and 1/3 sand. Then add a handful of earthworm castings for an extra nutrient boost – your plants will love it.

    7. Think About Accessibility and Daily Care

    Your garden should be easy to reach and maintain. Place it somewhere visible—ideally near your home, so you can check on it daily.

    Also, include paths between beds so you can comfortably walk, weed, and harvest without stepping on your soil. Good access makes a huge difference over time.

    Final Thoughts

    Starting a garden isn’t about perfection, it’s about setting a strong foundation. By choosing the right location, planning your layout, and keeping things simple, you’ll avoid frustration and enjoy the process much more.

    Remember: every great gardener started as a beginner. Start small, stay consistent, and let your garden grow along with your skills.

    🌱 Free Resource: 5-Day Guided Garden Start Journal
    If you’re ready to take action but want a little extra guidance, I created a free 5-day guided garden start journal to help you plan, map out, and actually start your garden step-by-step.
    It walks you through everything, from choosing your location to building your layout – so you don’t feel stuck or overwhelmed.
    Grab your free copy and start your garden with confidence!

  • Snow on the Ground, Seeds on the Go

    What I’m Starting Indoors in Mid-February (Richmond, VA – Zone 7b)

    There’s still snow in the yard. The raised beds are quiet. The garden looks asleep.

    But inside? The season has already started.

    Mid-February in Richmond, Virginia (Zone 7b) is when the real gardeners begin. Our average last frost is around April 5-15, which means right now is the perfect time to start slow growers and cool-season crops indoors so they’re strong and ready when spring arrives.

    If you’re itching to garden while winter lingers, here’s exactly what you can be sowing indoors right now – plus how to do it, where to place your seedlings, and when each crop should move outside.

    🌿 Vegetables to Start Indoors in Mid-February (Richmond, VA)

    Cool-Season Crops (Can Handle Early Spring)

    These crops grow well in cooler weather and can be transplanted outdoors in March or early April after hardening off.

    Start indoors now:

    • Broccoli
    • Cabbage
    • Cauliflower
    • Kale
    • Collards
    • Head lettuce
    • Leeks
    • Onions (from seed)

    🌱 When to Transplant Outdoors:

    • Harden off: Early to mid-March
    • Plant in ground: Mid-March through early April

    These can tolerate light frost and cooler nights, making them perfect for early planting.

    Warm-Season Crops (Need a Head Start)

    These crops grow slowly at first and benefit from an early indoor start.

    Start indoors now:

    • Peppers
    • Eggplant
    • (Optional late February/early March) Tomatoes

    🌱 When to Transplant Outdoors:

    • Harden off: Early April
    • Plant in ground: After last frost (mid-April or later)

    Tomatoes, peppers, and eggplant do NOT like cold soil. Wait until nighttime temperatures stay consistently above 50°F before planting.

    🌸 Flowers to Start Indoors Now

    Starting flowers early means earlier blooms and stronger plants.

    Cool-Season Flowers

    • Snapdragons
    • Pansies
    • Violas
    • Sweet Peas

    🌱 Transplant:

    • Harden off: Early March
    • Plant out: March (they tolerate cool weather)

    Slow-Growing Annual Flowers

    • Petunias
    • Geraniums
    • Hollyhocks

    🌱 Transplant:

    • Harden off: Early April
    • Plant out: After last frost

    Perennials That Benefit from Cold Treatment

    (Some need cold stratification before germinating.)

    • Lavender
    • Echinacea (Coneflower)
    • Rudbeckia (Black-Eyed Susan)
    • Milkweed

    These often require chilling before planting – more on that below.

    🌱 Seed Starting Methods (Choose What Fits the Seed)

    Different seeds benefit from different techniques. Here’s how I decide:

    1️⃣ Soaking Seeds

    Best for:

    • Sweet peas
    • Larger, hard-coated seeds

    How:

    • Soak in room-temperature water 4-12 hours (overnight works).
    • Plant immediately after soaking.

    This softens the seed coat and speeds germination.

    2️⃣ Cold Stratification (Freezing or Refrigerating Seeds)

    Best for:

    • Lavender
    • Echinacea
    • Rudbeckia
    • Milkweed

    How:

    • Place seeds in a damp paper towel inside a sealed bag.
    • Refrigerate for 2-6 weeks (check packet for exact timing).
    • After chilling, plant in seed trays.

    This mimics winter conditions and tells the seed it’s safe to grow.

    3️⃣ Moist Paper Towel Germination

    Best for:

    • Peppers
    • Eggplant
    • Tomatoes
    • Parsley

    How:

    • Place seeds in a damp (not dripping) paper towel.
    • Put inside a slightly open zip bag.
    • Keep warm (top of fridge or seed heat mat).
    • Once a small root appears, gently transfer to seed cells.

    Great if you want to monitor germination closely.

    4️⃣ Seed Cells with Moist, Sifted Soil (Most Common Method)

    Best for:
    Almost everything.

    Steps:

    1. Pre-moisten seed starting mix.
    2. Fill seed trays.
    3. Sow seeds at correct depth.
    4. Mist lightly or bottom water.

    Seed starting mix is lighter than regular potting soil and helps prevent disease.

    💡 Light: Grow Lights vs. South-Facing Window

    Seedlings need strong light or they will become leggy and weak.

    Best Option: Grow Lights

    • Keep lights 2-3 inches above seedlings.
    • Provide 14-16 hours of light daily.
    • Adjust height as plants grow.

    Second Option: South-Facing Window

    • Rotate trays daily to prevent leaning.
    • Expect slower growth compared to grow lights.

    If you’re serious about strong starts, grow lights are worth it.

    🌬 Hardening Off: Don’t Skip This Step

    Seedlings grown indoors must gradually adjust to outdoor conditions.

    Simple 7-10 Day Plan:

    • Day 1-2: 1-2 hours outside in shade
    • Day 3-5: Increase time, introduce mild sun
    • Day 6-10: Most of the day outside

    Bring them in if temperatures drop or winds are strong.

    📅 Quick Richmond Planting Timeline

    Crop TypeStart IndoorsHarden OffPlant in Ground
    Broccoli, Cabbage, KaleMid FebEarly MarchMid March–Early April
    LettuceMid FebEarly MarchMarch
    Onions, LeeksMid FebEarly MarchMarch
    Peppers, EggplantMid FebEarly AprilAfter mid-April
    TomatoesLate Feb/Early MarchEarly AprilAfter mid-April
    SnapdragonsMid FebEarly MarchMarch
    PetuniasMid FebEarly AprilAfter mid-April

    ❄️ What NOT to Start Yet

    Resist the urge to start:

    • Cucumbers
    • Squash
    • Pumpkins
    • Melons

    They grow too quickly and prefer warmer soil. Start them later or direct sow.

    Winter Outside, Spring Inside

    Even though snow still covers the beds, life is already beginning. Seed trays on a sunny window. Tiny green sprouts under grow lights. The quiet promise of what’s coming.

    This is the season of preparation. Of patience. Of planting hope before the soil is even ready.

    If you’re starting seeds indoors in Richmond this February, you’re right on time.

    What are you planting first this year? 🌱

  • What to Do in the Garden While It’s Covered in Snow

    How to Prep Indoors for a Blooming Season Ahead


    When the garden is tucked under a blanket of snow, it can feel like everything has come to a standstill. But winter isn’t a pause, it’s a preparation season. While the soil rests outside, there’s so much you can do indoors to set yourself up for a thriving, intentional garden once spring arrives.

    Here’s how to make the most of snowy days and turn winter into the quiet beginning of your next garden bloom.

    1. Let the Garden Rest (and Trust the Process)

    First things first: if your beds are covered in snow, you don’t need to rush outside and do anything. Snow actually acts as insulation, protecting soil life and plant roots from extreme temperature swings. This rest period is part of the natural rhythm of the garden, and honoring it matters.

    Instead of forcing productivity outdoors, shift your focus inside. Winter is for dreaming, planning, and gentle preparation.

    2. Start Seeds Indoors (Slow, Steady, and Joyful)

    One of the most exciting winter garden tasks is starting seeds indoors. It’s where the magic begins; tiny seeds, warm soil, and the promise of what’s to come.

    Great seeds to start indoors during winter include:

    • Tomatoes
    • Peppers
    • Onions
    • Herbs like basil, parsley, and thyme
    • Flowers like zinnias, cosmos, snapdragons, and marigolds

    Set up a simple seed-starting station near a sunny window or under grow lights. You don’t need anything fancy, just good soil, consistent moisture, and patience. This is a slow season, and that’s a gift.

    3. Plan Your Garden Beds with Intention

    Winter is the perfect time to plan before the chaos of spring planting begins. Grab a notebook, planner, or garden journal and start mapping out your beds.

    Ask yourself:

    • How many beds do I have?
    • What grew well last year?
    • What didn’t work?
    • Do I want more food, more flowers, or a balance of both?

    Sketch your beds and decide what will go where. This makes spring planting calmer, faster, and more successful.

    4. Pair Veggies and Flowers with Companion Planting

    One of the most powerful planning tools is companion planting, growing plants together that benefit each other.

    Some classic companion pairings to plan now:

    • Tomatoes + basil + marigolds
    • Cucumbers + nasturtiums
    • Lettuce + alyssum
    • Squash + beans + sunflowers

    Flowers aren’t just for beauty. They attract pollinators, repel pests, and bring life into the garden. Planning companion plants ahead of time helps you create a garden that’s both productive and beautiful.

    5. Take Inventory & Order Seeds Early

    Winter is also a great time to check what you already have. Sort through seed packets, note what’s expired, and make a list of what you need to order.

    Ordering seeds early means:

    • Better variety selection
    • Less stress when spring hits
    • More time to plan intentionally

    This step alone can save you money and last-minute scrambling later on.

    6. Dream a Little (or a Lot)

    Some of the most important garden work doesn’t look like work at all. Spend time scrolling garden inspiration, reading seed catalogs, journaling goals, or imagining how you want your garden to feel this year.

    Do you want:

    • A calm morning garden?
    • A kid-friendly harvest space?
    • Cut flowers for the table?
    • More food security?

    Winter is where those visions take root.

    The Garden Is Still Growing – Even Under Snow

    Even when everything outside looks frozen and still, life is quietly preparing beneath the surface. By starting seeds, planning beds, and pairing plants with intention, you’re already nurturing your next season.

    At Seed To Bloom, we believe every season has purpose—and winter is where the foundation is laid.

    Spring will come. And when it does, you’ll be ready 🌱✨

  • How to Make Your Own Garden Soil Mix (The 103 Blend)

    If you’ve ever struggled with poor soil, stunted plants, or waterlogged garden beds, the solution might be simpler than you think — mix your own soil! One of the most effective DIY soil recipes is the 1/3-1/3-1/3 blend, also known as the “103 blend.” This mix consists of:

    • 1/3 topsoil
    • 1/3 compost
    • 1/3 coarse sand
    • + a handful of earthworm castings for a natural nutrient boost

    It’s an easy, customizable, and budget-friendly way to give your plants the healthy foundation they need to thrive.


    🌿 Why Mix Your Own Garden Soil?

    Pre-bagged garden soils often contain filler ingredients, mystery additives, or poor drainage. Mixing your own soil gives you full control over:

    • Texture and drainage
    • Nutrient levels
    • Organic content
    • Cost-effectiveness

    Whether you’re filling a raised bed, prepping containers, or improving your in-ground garden, making your own blend ensures your plants get exactly what they need — nothing more, nothing less.


    🧱 What Each Ingredient Does in the 103 Blend

    🌱 1/3 Topsoil
    Topsoil is the base of your blend and provides structure. It contains a natural balance of minerals and fine particles, which helps support root anchoring. Look for clean, screened topsoil free of debris or chemical contamination.

    🍂 1/3 Compost
    Compost is where the magic happens! It’s packed with organic matter and beneficial microbes that feed your plants and improve soil life. Compost also helps retain moisture and promotes nutrient exchange. You can use homemade compost or high-quality store-bought compost — just make sure it’s fully broken down and smells earthy, not sour.

    🏖 1/3 Coarse Sand
    Sand adds essential drainage and aeration to your mix, especially in heavy clay soils or tightly packed beds. Coarse or builder’s sand works best — avoid fine play sand, which can compact and do more harm than good.

    🪱 A Handful of Earthworm Castings (Optional, but Powerful!)
    Earthworm castings are like nature’s multivitamin for your plants. Just a small amount supercharges the mix with slow-release nutrients, enzymes, and beneficial microbes. Think of it as a natural fertilizer that won’t burn your plants.


    🧑‍🌾 How to Mix It

    1. Choose a mixing space: A tarp, wheelbarrow, or even the garden bed itself works great.
    2. Measure equal parts of topsoil, compost, and sand by volume (shovel, bucket, or bag).
    3. Mix thoroughly with a rake or shovel until the ingredients are evenly distributed.
    4. Sprinkle in worm castings and give it a final mix.
    5. Moisten the soil slightly before planting — not soggy, just damp enough to clump lightly in your hand.

    🌼 Where to Use the 103 Blend

    • Raised garden beds
    • Container gardens
    • Vegetable plots
    • Flower beds
    • Soil refresh for older beds

    💡 Bonus Tip: Customize It!

    You can tweak your 103 blend to suit your garden’s needs:

    • Add perlite or coconut coir for more moisture retention.
    • Add biochar or vermiculite for added structure and slow-release nutrients.
    • Use peat moss (sparingly) if you’re gardening in a very dry climate.

    Final Thoughts

    Your plants are only as healthy as the soil they grow in. By making your own 103 blend, you’re creating a nutrient-rich, well-draining, and living soil that will reward you with strong roots, vibrant growth, and bountiful harvests.

    So grab your shovel, gather your ingredients, and give your garden the foundation it deserves!

    🌿 Have you tried making your own soil mix before? Let me know how it went in the comments!

  • Turn Garden Goals into Gold with Free Mulch from ChipDrop

    If you’re looking for an easy, affordable way to improve your garden’s soil health, reduce weeds, and conserve moisture — let me introduce you to your new best friend: wood chip mulch. Even better? You can get it delivered straight to your driveway for free with a service called ChipDrop.

    Wood chips are more than just a pretty ground cover — they’re a powerhouse for healthy gardens. Here’s why:

    🌲 What Is ChipDrop?

    ChipDrop is a service that connects everyday gardeners with local arborists and landscaping companies who need to get rid of excess wood chips and tree debris. Instead of sending those chips to the landfill, they drop them off at your home — and your garden gets an instant upgrade.

    🌿 Why Use Wood Chip Mulch?

    It’s a win-win: arborists save on disposal fees, and you get free, organic mulch delivered in bulk. All you need to do is sign up, set your delivery preferences, and wait for a load to arrive. (Heads up: it’s usually a full truckload, so be ready with a spot to pile it!)

    1. Weed Suppression
    A thick layer of wood chips blocks sunlight from reaching weed seeds, making it harder for them to sprout and take over your garden beds.

    2. Moisture Retention
    Mulch helps lock in moisture by slowing down evaporation, meaning less watering for you and less stress for your plants during dry spells.

    3. Soil Health & Microbial Life
    As the wood chips break down, they enrich the soil with organic matter and encourage beneficial fungi, earthworms, and microbes that create a thriving underground ecosystem.

    4. Temperature Regulation
    Mulch acts as insulation — keeping roots cooler in summer and warmer in winter, helping your plants stay healthy year-round.

    5. Erosion Control
    Wood chips help prevent runoff during heavy rains and keep your soil where it belongs: in the garden, not washing down the driveway.

    📦 What to Expect with a ChipDrop Delivery

    • You’ll typically receive a large truckload (about 10-20 cubic yards).
    • The load may include a mix of wood chips, leaves, twigs, and even small logs, depending on the job site.
    • You can set preferences like no black walnut, clean chips only, or add a donation to get bumped up in priority.
    • Be sure to choose a safe, accessible drop location, and be ready to spread mulch or store it as needed.

    🌻 How to Use Wood Chips in the Garden

    • Lay 3–4 inches thick on garden paths, around trees, shrubs, and perennial beds.
    • Avoid piling mulch directly against plant stems or tree trunks to prevent rot.
    • Reapply annually or as needed — the mulch will slowly decompose and feed your soil over time.

    Ready to Give It a Try?

    Visit ChipDrop.com to sign up and get matched with a local arborist. You’ll be doing something good for the planet, your garden, and your wallet — all at once.

    Have you used ChipDrop before? Let me know in the comments — I’d love to hear about your experience and see how you used your wood chips!

  • The Secret Weapon for a Weed-Free Garden: Cardboard Boxes

    If you’ve ever opened a package and thought, “What do I do with all this cardboard?” — don’t toss it just yet. Those humble brown boxes are actually one of the best-kept secrets in the gardening world! Using cardboard as a weed barrier is a simple, budget-friendly, and earth-loving way to keep your garden beds looking neat and thriving all season long.


    Why Cardboard Works

    Cardboard is thick enough to smother weeds, but still breathable and biodegradable. When laid flat and overlapped, it blocks sunlight — which weeds need to grow — while still allowing water and air to reach the soil below. Over time, the cardboard breaks down, feeding your soil in the process. It’s like giving your garden a blanket that turns into compost!

    Benefits of Using Cardboard as a Weed Barrier

    1. Free and Abundant:
    You likely already have cardboard lying around from shipping boxes, cereal boxes, or even paper towel tubes. It’s a great way to recycle what you already have.

    2. Natural Weed Suppression:
    When you layer cardboard under mulch or compost, it blocks weed seeds from germinating and cuts off existing weeds from sunlight. No chemicals required!

    3. Improves Soil Health:
    As the cardboard breaks down, it attracts earthworms and beneficial microbes, both of which enrich your soil naturally.

    4. Easy to Use:
    Just flatten the boxes, remove any plastic tape or glossy stickers, overlap the edges so weeds can’t sneak through, and wet them down to keep them in place. Then cover with mulch, compost, or soil.

    5. Helps Retain Moisture:
    Cardboard acts as a moisture barrier, slowing down evaporation and keeping your garden beds consistently hydrated — especially helpful during dry spells.

    6. Eco-Friendly:
    It’s a win-win: You reduce landfill waste and support your garden’s ecosystem. Mother Nature will thank you!


    Where to Use It

    Under raised beds to prevent weeds from growing up through the bottom.
    In-between garden rows to keep paths weed-free and tidy.
    For new garden beds — just lay cardboard directly over grass or weeds, add compost and mulch on top, and let nature do the rest. This is often called the lasagna method or sheet mulching.


    Tips for Success

    Avoid boxes with glossy ink, colored printing, or lots of tape.

    Use box cutters to trim boxes as you line them along edges and corners.

    Water the cardboard well after laying it down to help it stay in place and start breaking down.

    Layer at least 2-3 pieces thick in areas with aggressive weeds.

    Add mulch on top to keep it looking neat and help it decompose evenly.


    Final Thoughts

    Gardening doesn’t have to be expensive or complicated. Sometimes, the simplest materials make the biggest difference. Cardboard boxes might just become your new favorite gardening tool — saving you time, money, and hours of weeding.

    Got extra cardboard lying around? Put it to work in your garden and watch the magic happen!

  • How to Build Long-Lasting Oak Raised Garden Beds (Step-by-Step)

    How to Build Raised Garden Beds from Oak (And Why You Should)

    If you’re dreaming of a thriving garden but battling poor soil, pests, or limited space, raised garden beds might be your best solution. In this post, I’ll walk you through how to build durable raised beds using oak—plus how to protect them and your crops for years to come.

    Why Choose Raised Garden Beds?

    Raised beds offer several advantages:

    • Better soil control: You choose the perfect soil mix for your plants.
    • Improved drainage: Prevents root rot and soggy plants.
    • Fewer weeds: Less weeding means more time enjoying your garden.
    • Easier on your back: Less bending and kneeling.
    • Pest control: With some strategic protection (like we’ll cover below), you can stop burrowing critters in their tracks.

    Why Use Oak for Raised Beds?

    Oak is a dense hardwood, making it naturally rot-resistant and sturdy. While it’s heavier and pricier than pine or cedar, it can last much longer—especially if properly sealed. Ours were sourced locally at a saw mill near our home. We paid a fraction of the price that you normally would at the home improvement store lumber.

    What You’ll Need:

    Step 1: Cut and Assemble the Frame

    Decide on your bed dimensions. A 4×8 ft bed is a great size—big enough to grow lots, but narrow enough to reach across.

    Measure using your tape measure and square. Then cut your oak boards to size using your square and assemble them into a rectangle. Use screws or bolts to attach the corners securely. Corner brackets can help stabilize the structure.

    Step 2: Seal the Wood with a Food-Safe Sealer

    Before filling your bed, protect the wood by sealing it. Look for a food-safe, non-toxic wood sealer that’s rated for outdoor use. This extends the life of your oak while keeping your soil—and your food—safe from harmful chemicals.

    Apply the sealer with a brush or sprayer and allow it to dry fully. Most sealers recommend at least 24 hours before planting.

    Garden bed plant based Sealer

    Step 3: Add Critter Protection

    To keep out moles, gophers, and other burrowers, line the bottom of the bed with chicken wire before adding soil. Staple the wire to the frame, making sure the edges are secure and the mesh is tight.

    For extra protection, you can add a layer of cardboard on top of the chicken wire to help retain soil and deter weeds.

    Step 4: Fill and Plant

    Now for the fun part—filling your bed! Use a mix of compost, topsoil, and organic matter for a nutrient-rich start. Then, get planting!

    Final Thoughts

    Building raised beds with oak is a long-term investment in your garden. With the right materials and a little bit of prep work, you’ll have a sturdy, beautiful garden space that lasts for years—while keeping your crops safe and thriving.

    Got questions or need plant ideas? Drop them in the comments!

  • Seed Starting – Not As Easy As It Seems

    Seed Starting – Not As Easy As It Seems

    When I first decided to grow plants from seed, I thought, “How hard can it be?” You plant a seed, water it, give it some light, and voilà – plants! But wow, I’ve learned it’s so much more involved than that. The journey so far has been full of trial and error, but every little sprout has taught me something new.

    Here are a few key lessons I’ve picked up already:

    1. Use Quality Soil
    Not all dirt is created equal. I learned quickly that good soil makes a huge difference. Regular garden soil is often too heavy and doesn’t drain well. I now use seed-starting mix – it’s lighter, cleaner, and helps those delicate seedlings get off to a strong start.

    2. Sift Your Soil
    Especially for tiny seeds, sifting the soil is a game-changer. Large chunks or clumps can stop small seeds from making their way to the surface. A fine, even texture helps those little guys sprout without a struggle.

    3. Start in Seed Cell Trays – and Water from the Bottom
    I tried a few different containers, but my seedlings only truly thrived when I used seed cell trays. And here’s the magic trick: water them from the bottom! This keeps the top dry enough to avoid damping off (a common seedling killer) while giving the roots the moisture they need.

    I’m still learning – every day brings something new. From surprise successes to unexpected flops, gardening has become a daily adventure I look forward to.

    Stay tuned for more beginner gardening content. I’ll be sharing my wins, my mistakes, and everything in between!

    Happy growing 🌱

  • It started at Tractor Supply

    It started at Tractor Supply


    For as long as I can remember, I’ve dreamed of having a garden. There’s something so beautiful about the idea of sustainability and growing your own food—it’s always fascinated me. My grandparents were farmers in Brazil, and although I left their side at the age of six when we moved to the United States, I guess you could say it’s in my blood.

    My parents worked tirelessly to provide for me and my two younger sisters. Despite coming to America in search of a better life, it never truly felt like we put down roots. We were constantly moving—state to state, apartment to apartment. To me, a garden has always symbolized roots. You can’t plant a garden unless you’re planning to stay. It’s a commitment, a promise to grow and nurture.

    Last year, when I married the love of my life, I began that journey of planting roots—both literally and figuratively. My husband inherited a beautiful four-bedroom home after his grandparents passed away, and it felt like everything I had longed for was finally within reach: a home, stability, and the space to build a life. I’m truly so blessed and the glory goes to God.

    This spring, we made a spontaneous trip to Tractor Supply. We had only planned to buy bird seed—my husband recently got into birdwatching (which I think is absolutely adorable—he’s such an old soul). But somewhere between the aisles of seeds and soil, I convinced him to support my dream of starting a vegetable garden. We walked out with seeds, potting mix, trays, and pots. Just like that, the journey began.

    Here’s to planting roots, growing dreams, and building a future—one seed at a time.

    With Love,

    Dayana

  • Welcome to Seed to Bloom! 🌱

    Welcome to the Seed to Bloom community! I’m so happy you’re here and excited to share this journey with you.

    Just to let you know, I’m not a professional gardener—I’m just a beginner, learning as I go, and I’d love for you to join me. I started this blog to document my own experiences, struggles, and small victories as I try to grow a garden from scratch. And the best part? I’m sharing everything—my mistakes, my successes, and everything in between—so we can all learn together.

    Here’s what you can expect:

    Real, Personal Stories: I’ll share my own gardening journey, from what I’ve learned (and what I still don’t know) to photos of my garden’s progress.

    Beginner Tips & Guides: Nothing too fancy, just straightforward tips that helped me along the way.

    Community: You’ll get to be part of a group of gardeners (just like me) who are all learning and growing at their own pace. Together, we’ll figure this out!

    I’m really excited to have you along for the ride. Feel free to share your own gardening experiences, questions, or tips. We’re in this together!

    Let’s get in the garden!

    Dayana K, Founder of Seed to Bloom

Oh hi there 👋
It’s nice to meet you.

Sign up to get a monthly email full of gardening wisdom, creative hacks, lessons learned, and little garden humor. 🌱

We don’t spam! Read our privacy policy for more info.